Authentication
In this step we're going to extend the server implementation so that it can authenticate itself to the APS platform, and generate access tokens for different use cases.
It is a good practice to generate an "internal" token with more capabilities (for example, allowing you to create or delete files in the Data Management service) that will only be used by the server, and a "public" token with fewer capabilities that can be safely shared with the client-side logic.
Access tokens
- Node.js & VSCode
- .NET 6 & VSCode
- .NET 6 & VS2022
Create an aps.js file under the services folder. This is where we will be implementing
all the APS logic that will be used in different areas of our server application. Let's start
by adding the following code to the file:
const { SdkManagerBuilder } = require('@aps_sdk/autodesk-sdkmanager');
const { AuthenticationClient, Scopes } = require('@aps_sdk/authentication');
const { OssClient, CreateBucketsPayloadPolicyKeyEnum, CreateBucketXAdsRegionEnum } = require('@aps_sdk/oss');
const { ModelDerivativeClient, View, Type } = require('@aps_sdk/model-derivative');
const { APS_CLIENT_ID, APS_CLIENT_SECRET, APS_BUCKET } = require('../config.js');

const sdk = SdkManagerBuilder.create().build();
const authenticationClient = new AuthenticationClient(sdk);
const ossClient = new OssClient(sdk);
const modelDerivativeClient = new ModelDerivativeClient(sdk);

const service = module.exports = {};

service.getInternalToken = async () => {
    const credentials = await authenticationClient.getTwoLeggedToken(APS_CLIENT_ID, APS_CLIENT_SECRET, [
        Scopes.DataRead,
        Scopes.DataCreate,
        Scopes.DataWrite,
        Scopes.BucketCreate,
        Scopes.BucketRead
    ]);
    return credentials;
};

service.getPublicToken = async () => {
    const credentials = await authenticationClient.getTwoLeggedToken(APS_CLIENT_ID, APS_CLIENT_SECRET, [
        Scopes.DataRead
    ]);
    return credentials;
};
The code provides two helper functions - one for generating access tokens for internal use (giving us read/write access to the Data Management buckets and objects), and one for generating tokens for public use (only giving a read access to the translation outputs from the Model Derivative service).
Create an APS.cs file under the Models subfolder. That is where we will be implementing
all the APS-specific logic that will be used in different areas of our server application. Let's
start by adding the following code to the file:
using Autodesk.SDKManager;

public partial class APS
{
    private readonly SDKManager _sdkManager;
    private readonly string _clientId;
    private readonly string _clientSecret;
    private readonly string _bucket;

    public APS(string clientId, string clientSecret, string bucket = null)
    {
        _sdkManager = SdkManagerBuilder.Create().Build();
        _clientId = clientId;
        _clientSecret = clientSecret;
        _bucket = string.IsNullOrEmpty(bucket) ? string.Format("{0}-basic-app", _clientId.ToLower()) : bucket;
    }
}
Notice that the APS class is declared as partial. We're going to extend it
in other *.cs files later. An APS singleton will then be provided to our server
through ASP.NET's dependency injection.
Then create another file in the same Models subfolder, and call it APS.Auth.cs.
Here we will implement all the authentication logic. Populate the file with the following code:
using System;
using System.Collections.Generic;
using System.Threading.Tasks;
using Autodesk.Authentication;
using Autodesk.Authentication.Model;

public record Token(string AccessToken, DateTime ExpiresAt);

public partial class APS
{
    private Token _internalTokenCache;
    private Token _publicTokenCache;

    private async Task<Token> GetToken(List<Scopes> scopes)
    {
        var authenticationClient = new AuthenticationClient(_sdkManager);
        var auth = await authenticationClient.GetTwoLeggedTokenAsync(_clientId, _clientSecret, scopes);
        return new Token(auth.AccessToken, DateTime.UtcNow.AddSeconds((double)auth.ExpiresIn));
    }

    public async Task<Token> GetPublicToken()
    {
        if (_publicTokenCache == null || _publicTokenCache.ExpiresAt < DateTime.UtcNow)
            _publicTokenCache = await GetToken(new List<Scopes> { Scopes.ViewablesRead });
        return _publicTokenCache;
    }

    private async Task<Token> GetInternalToken()
    {
        if (_internalTokenCache == null || _internalTokenCache.ExpiresAt < DateTime.UtcNow)
            _internalTokenCache = await GetToken(new List<Scopes> { Scopes.BucketCreate, Scopes.BucketRead, Scopes.DataRead, Scopes.DataWrite, Scopes.DataCreate });
        return _internalTokenCache;
    }
}
This part of the APS class provides two helper methods - one for internal use
(giving us read/write access to the Data Management buckets and objects), and one for public use
(only allowing access to the translation outputs from the Model Derivative service).
Next, let's update our Startup.cs file to make a singleton instance of the APS class
available to our server application:
using System;
using Microsoft.AspNetCore.Builder;
using Microsoft.AspNetCore.Hosting;
using Microsoft.Extensions.Configuration;
using Microsoft.Extensions.DependencyInjection;
using Microsoft.Extensions.Hosting;

public class Startup
{
    public Startup(IConfiguration configuration)
    {
        Configuration = configuration;
    }

    public IConfiguration Configuration { get; }

    // This method gets called by the runtime. Use this method to add services to the container.
    public void ConfigureServices(IServiceCollection services)
    {
        services.AddControllers();
        var clientID = Configuration["APS_CLIENT_ID"];
        var clientSecret = Configuration["APS_CLIENT_SECRET"];
        var bucket = Configuration["APS_BUCKET"]; // Optional
        if (string.IsNullOrEmpty(clientID) || string.IsNullOrEmpty(clientSecret))
        {
            throw new ApplicationException("Missing required environment variables APS_CLIENT_ID or APS_CLIENT_SECRET.");
        }
        services.AddSingleton<APS>(new APS(clientID, clientSecret, bucket));
    }

    // This method gets called by the runtime. Use this method to configure the HTTP request pipeline.
    public void Configure(IApplicationBuilder app, IWebHostEnvironment env)
    {
        if (env.IsDevelopment())
        {
            app.UseDeveloperExceptionPage();
        }
        app.UseDefaultFiles();
        app.UseStaticFiles();
        app.UseRouting();
        app.UseEndpoints(endpoints =>
        {
            endpoints.MapControllers();
        });
    }
}
Server endpoints
Now we can expose this functionality through the first endpoint of our server.
- Node.js & VSCode
- .NET 6 & VSCode
- .NET 6 & VS2022
Create an auth.js file under the routes subfolder with the following content:
const express = require('express');
const { getPublicToken } = require('../services/aps.js');

let router = express.Router();

router.get('/api/auth/token', async function (req, res, next) {
    try {
        res.json(await getPublicToken());
    } catch (err) {
        next(err);
    }
});

module.exports = router;
Here we implement a new Express Router that will handle
requests coming to our server, with the URL ending with /token, by generating a public access token
and sending it back to the client as a JSON response.
Let's "mount" the router to our server application by modifying the server.js:
const express = require('express');
const { PORT } = require('./config.js');

let app = express();
app.use(express.static('wwwroot'));
app.use(require('./routes/auth.js'));
app.listen(PORT, function () { console.log(`Server listening on port ${PORT}...`); });
Create an AuthController.cs file under the Controllers subfolder with the following content:
using System;
using System.Threading.Tasks;
using Microsoft.AspNetCore.Mvc;

[ApiController]
[Route("api/[controller]")]
public class AuthController : ControllerBase
{
    public record AccessToken(string access_token, long expires_in);

    private readonly APS _aps;

    public AuthController(APS aps)
    {
        _aps = aps;
    }

    [HttpGet("token")]
    public async Task<AccessToken> GetAccessToken()
    {
        var token = await _aps.GetPublicToken();
        return new AccessToken(
            token.AccessToken,
            (long)Math.Round((token.ExpiresAt - DateTime.UtcNow).TotalSeconds)
        );
    }
}
The controller will receive the instance of APS - our Autodesk Platform Services client - through ASP.NET's
Dependency injection,
and it will handle requests to /api/auth/token by generating a new access token
and sending it back to the client as a JSON payload.
Try it out
Let's see if our new server endpoint works.
- Node.js & VSCode
- .NET 6 & VSCode
- .NET 6 & VS2022
If the application is still running, restart it (for example, using Run > Restart Debugging,
or by clicking the green restart icon), otherwise start it again (using Run > Start Debugging,
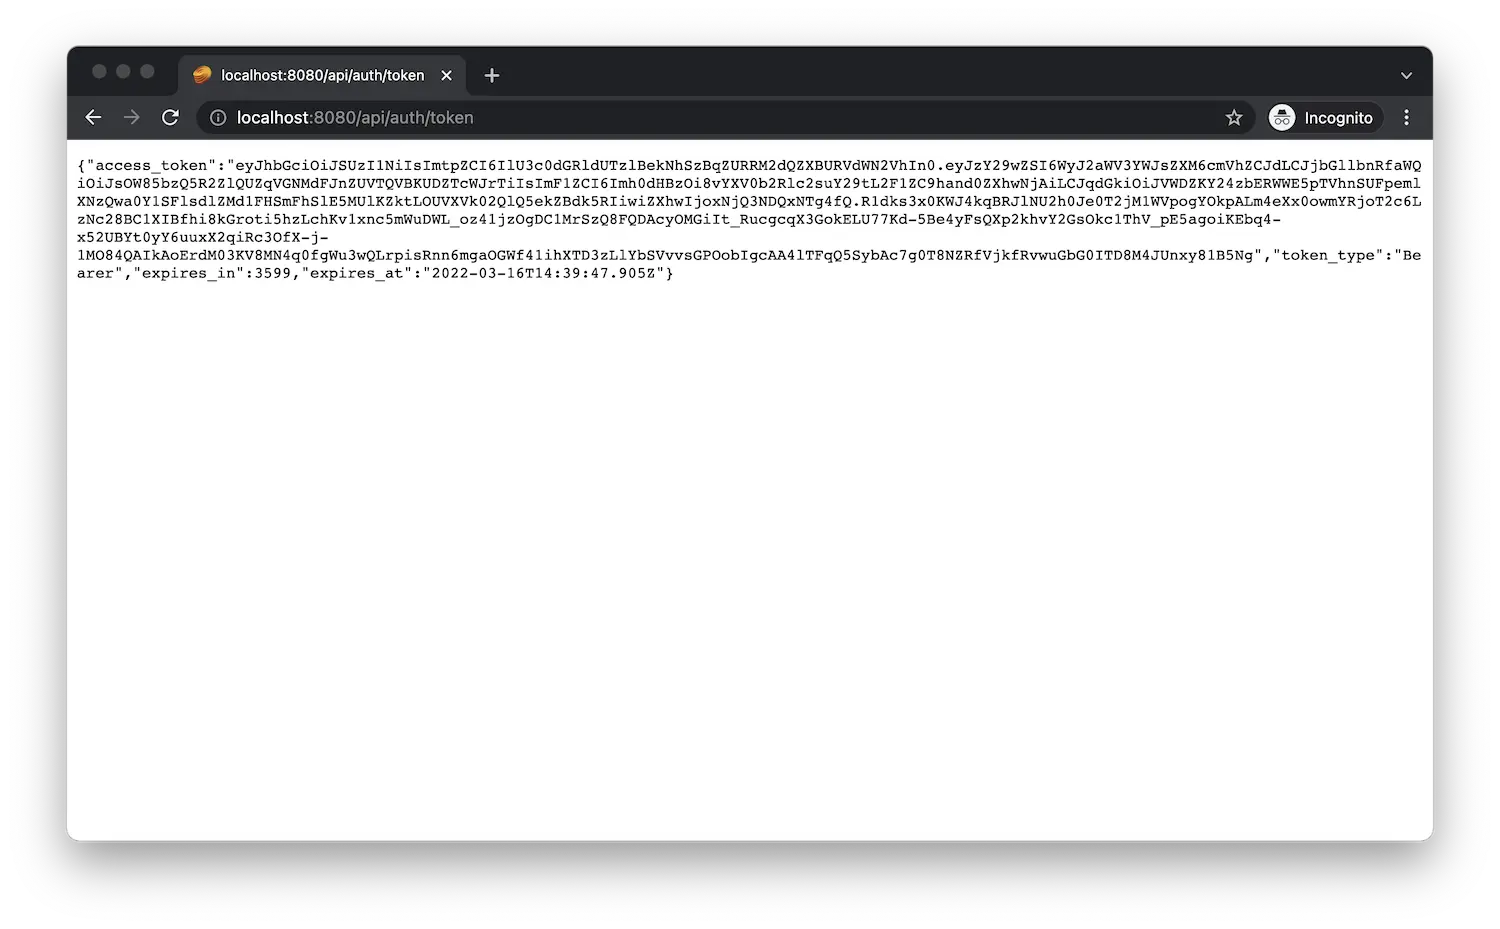
or by pressing F5). When you navigate to http://localhost:8080/api/auth/token
in the browser, the server should now respond with a JSON object containing the access token data.
If the application is still running, restart it (for example, using Run > Restart Debugging,
or by clicking the green restart icon), otherwise start it again (using Run > Start Debugging,
or by pressing F5). When you navigate to http://localhost:8080/api/auth/token
in the browser, the server should now respond with a JSON object containing the access token data.
If the application is still running, restart it (for example, using Debug > Restart,
or by pressing Ctrl+Shift+F5), otherwise start it again (using Debug > Start Debugging,
or by pressing F5). When you navigate to http://localhost:8080/api/auth/token
in the browser, the server should now respond with a JSON object containing the access token data.
If you are using Google Chrome, consider installing JSON Formatter or a similar extension to automatically format JSON responses.